


- Store vehicles in your garage
- Get product recommendations
- Easily find products and accessories


250W AC to DC Conversion Battery Charging Kit for Honda XR 650 R 2000-2007 | OEM# 31120-MBN-671 XR650R
RMSTATOR
SKU: RMS900-108297
In Stock
RMSTATOR
250W AC to DC Conversion Battery Charging Kit for Honda XR 650 R 2000-2007 | OEM# 31120-MBN-671 XR650R
Close
FITMENT WARNING:
Close
Close
Shop By Vehicle

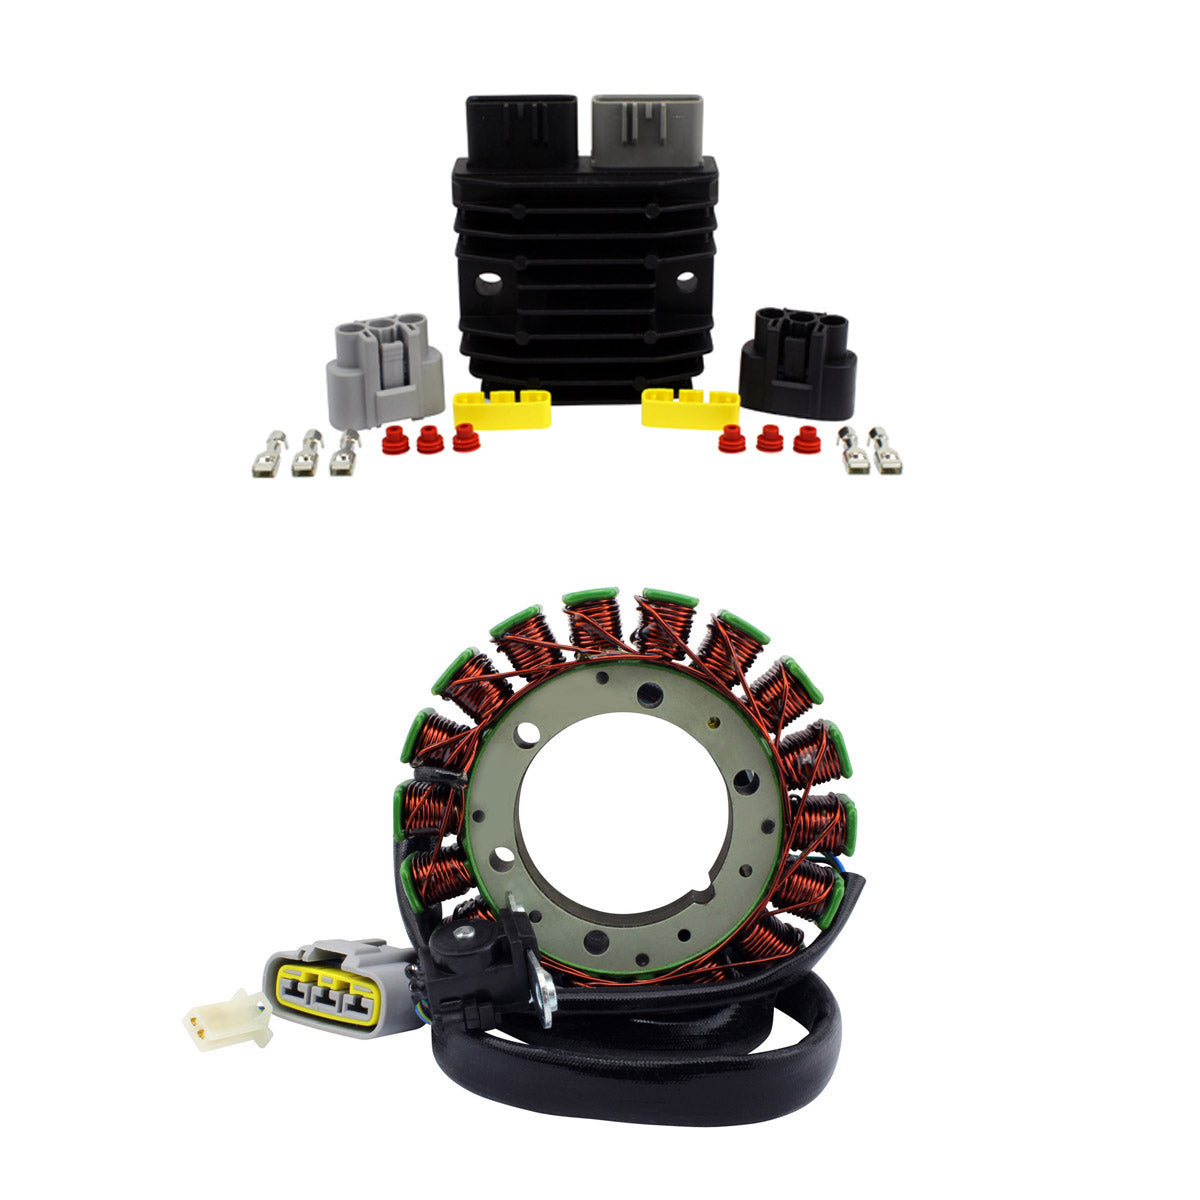
This kit is designed to convert the Honda XR650R charging system to a true three phase 250W output intended to charge a battery for power electrical accessories such as lights, heated gear, radiator fan, GPS/ gauges, and more.
It currently includes the stator and SERIES voltage regulator rectifier.
Note that this kit requires custom installation. You must install and mount a battery, DC CDI box, voltage regulator, and wire accordingly.
If you're unsure whether this kit will suit your needs, please:
Watch our video ! Read our complete installation instructionsBattery condition is important. No stator can make up for a bad or weak battery. If in doubt charge your battery and have it load tested, or simply replace it. ALWAYS START WITH A FULLY CHARGED BATTERY !
Read more
250W AC to DC Conversion Battery Charging Kit for Honda XR 650 R 2000-2007 | OEM# 31120-MBN-671 XR650R
Details
Details
Brand new aftermarket 250W AC to DC Conversion Battery Charging Kit
- Connectors included
- All products shipped are tested
Stator:
- Highest grade of lamination materials
- Highest grade of copper winding, resistant to 200 degrees Celsius
- Pick up pulsar coil included
- Rubber grommet included
SERIES Voltage Regulator:
- Improved heat sink and charging capabilities
- Higher grade of electric components
We even include the opposite connector (main harness side) as we know these are often melted / corroded / defective and a major cause for repetitive electrical issues.
All item pictures are accurate, if in doubt, do not hesitate and compare our item to your original part.
WHY USE SERIES ENHANCED TECHNOLOGY?
- Runs much cooler than the Shunt and MOSFET voltage regulator rectifier.
- Power only flows through the electrical components when the battery is charging.
- Allows the stator to have lower current flowing when not used, extending its lifetime.
- The regulator is easier to mount because it’s smaller than the OEM one.
With enhanced technology design
This product is an advanced technology that lowers operating temperatures for extended longevity and better performance than the OEM part.
THE SERIES VOLTAGE REGULATION TECHNOLOGY
RMSTATOR’s new SERIES voltage regulator brings better reliability and charging system performance. A SERIES regulator is a significant upgrade over typical shunt type voltage regulators. A shunt regulator controls battery voltage by grounding the stator coils to dissipate current as heat, rather than sending it on to the battery. SERIES regulators control battery voltage by intermittently disconnecting stator coils from the regulator electronics, limiting current flow through the unit and on to the battery completely. This results in lower regulator and stator temperatures, more accurate voltage regulation, and increased reliability of your charging system components.
Specifications
Specifications
Stator:
Dimensions:
Interior diameter: 54 mm
Exterior diameter: 115 mm
Thickness: 13 mm
Length of wires stator to grommet: 120 mm
Length of wires grommet to plug: 695 mm
Length of pickup coil's wire to grommet: 220 mm
Other specifications:
Number of wires: 5
Number of plugs: 2
Number of pins: 5
Number of poles: 18
Wire to wire resistance:
Alternator: White to White = 0.6 ohms +-20%
Pickup: Blue/Yellow to Green/Red = 250 ohms +-20%
SERIES Voltage Regulator:
Dimensions:
Width: 84 mm
Length: 90 mm
Height: 32 mm
Fixation holes center to center: 69 mm
Other specifications:
Number of plugs: 2
Number of pins: 5
Minimum Charging Voltage: 14.5 V +- 0.5 V
Maximum Charging Current: 50 A / 500 W
Open Circuit Voltage: < 15 V
Operation Temperature: -20° to 85°
Interchange Part Nº
Interchange Part Nº
- 108297-R00
Installation
Installation
Before installing your new stator and SERIES regulator rectifier
- Check the AC output of the stator
- Replace any burned or corroded connectors on stator and regulator rectifier
- Check and repair any melted wiring
- Use hi-temp dielectric grease on all connectors
Our stator may use a different wire color code than your original.
All of the wires are installed in the correct order; please do not change any of the wiring configurations.
When bolting stator in, always use locking compound.
If our stator includes a pickup coil, always make sure the air gap is correct upon installation; we suggest as close as possible no less than 0.010".
Warning:
Risk of electric shock. Disconnect the battery before servicing.
Ensure proper installation by a qualified technician to avoid malfunction.
Vehicle Fitments
Vehicle Fitments
Vehicle Fitments
Recently Viewed
You may also like
Have a question?
Our customers are our most important asset, we are here to help you in real time! Call us now, or connect with a specialist via email.