


- Store vehicles in your garage
- Get product recommendations
- Easily find products and accessories


Ignition Coil for Johnson / Evinrude 2 3 4 5 6 9 10 15 18 20 25 28 30 33 35 hp Mercury 3 7.5 10 40 hp 1949-1990 | 584477
RMSTATOR
SKU: RMS060-105990
In Stock
RMSTATOR
Ignition Coil for Johnson / Evinrude 2 3 4 5 6 9 10 15 18 20 25 28 30 33 35 hp Mercury 3 7.5 10 40 hp 1949-1990 | 584477
Close
FITMENT WARNING:
Close
Close
Shop By Vehicle

Ignition Coil for Johnson / Evinrude 2 3 4 5 6 9 10 15 18 20 25 28 30 33 35 hp Mercury 3 7.5 10 40 hp 1949-1990 | 584477
Details
Details
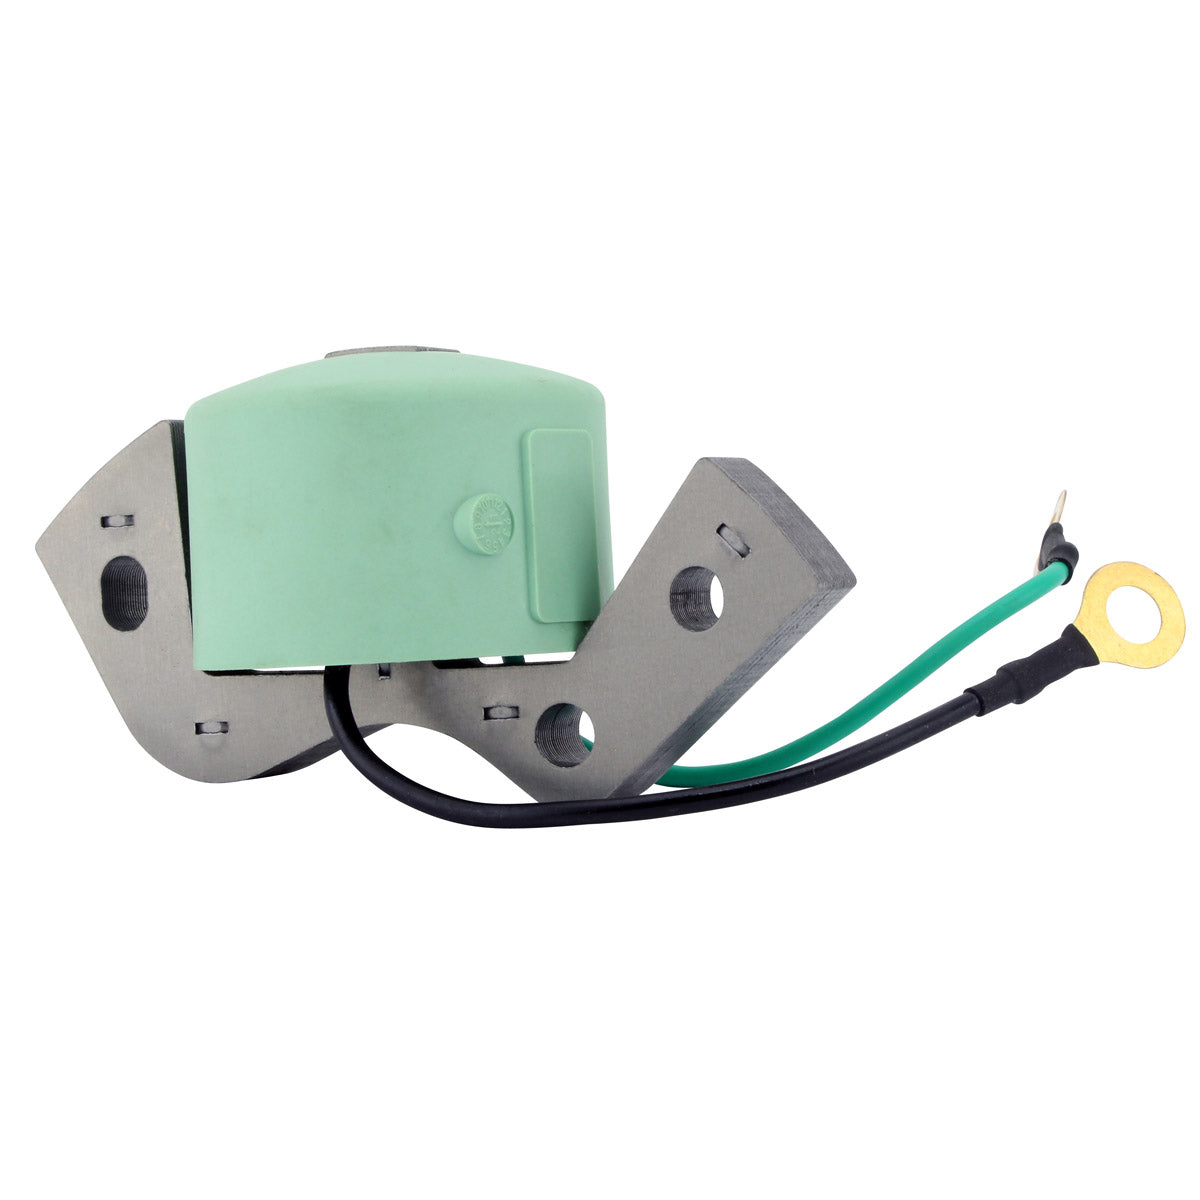
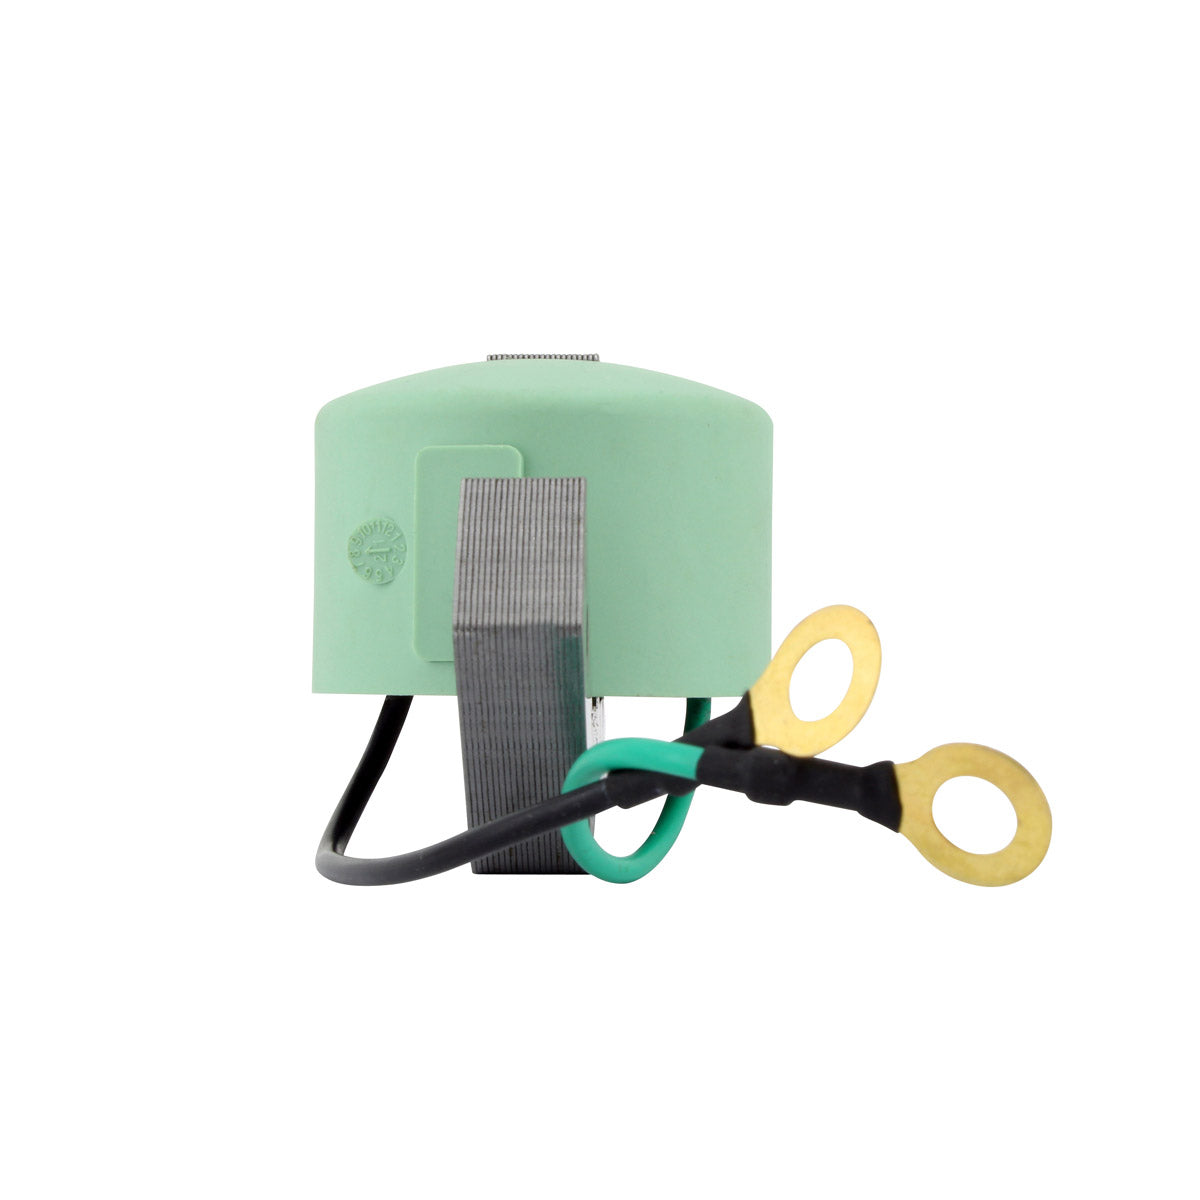
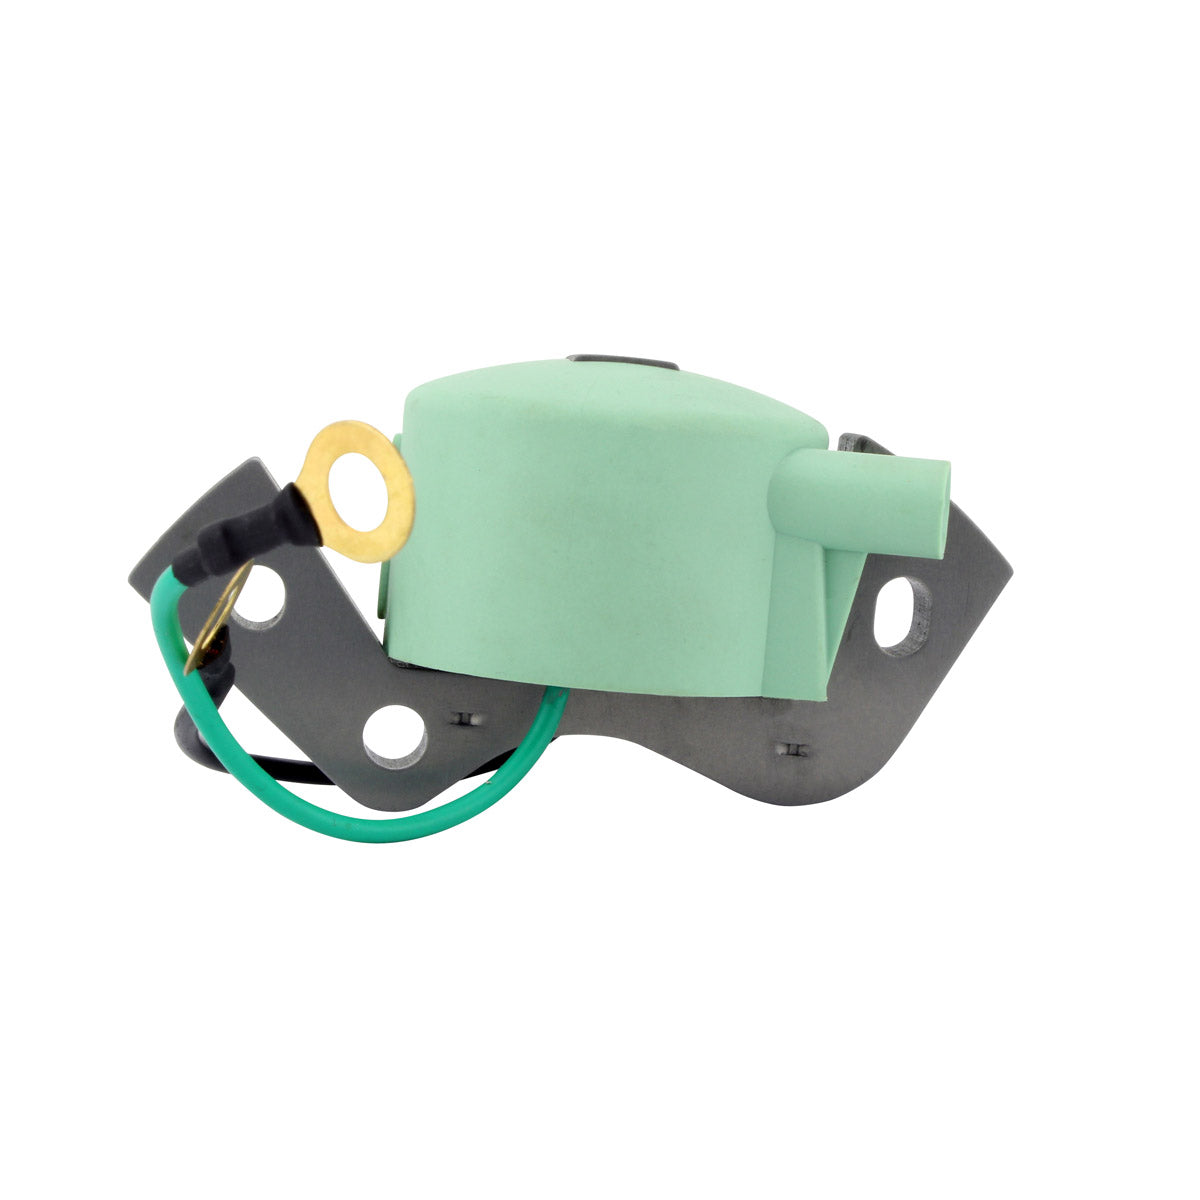
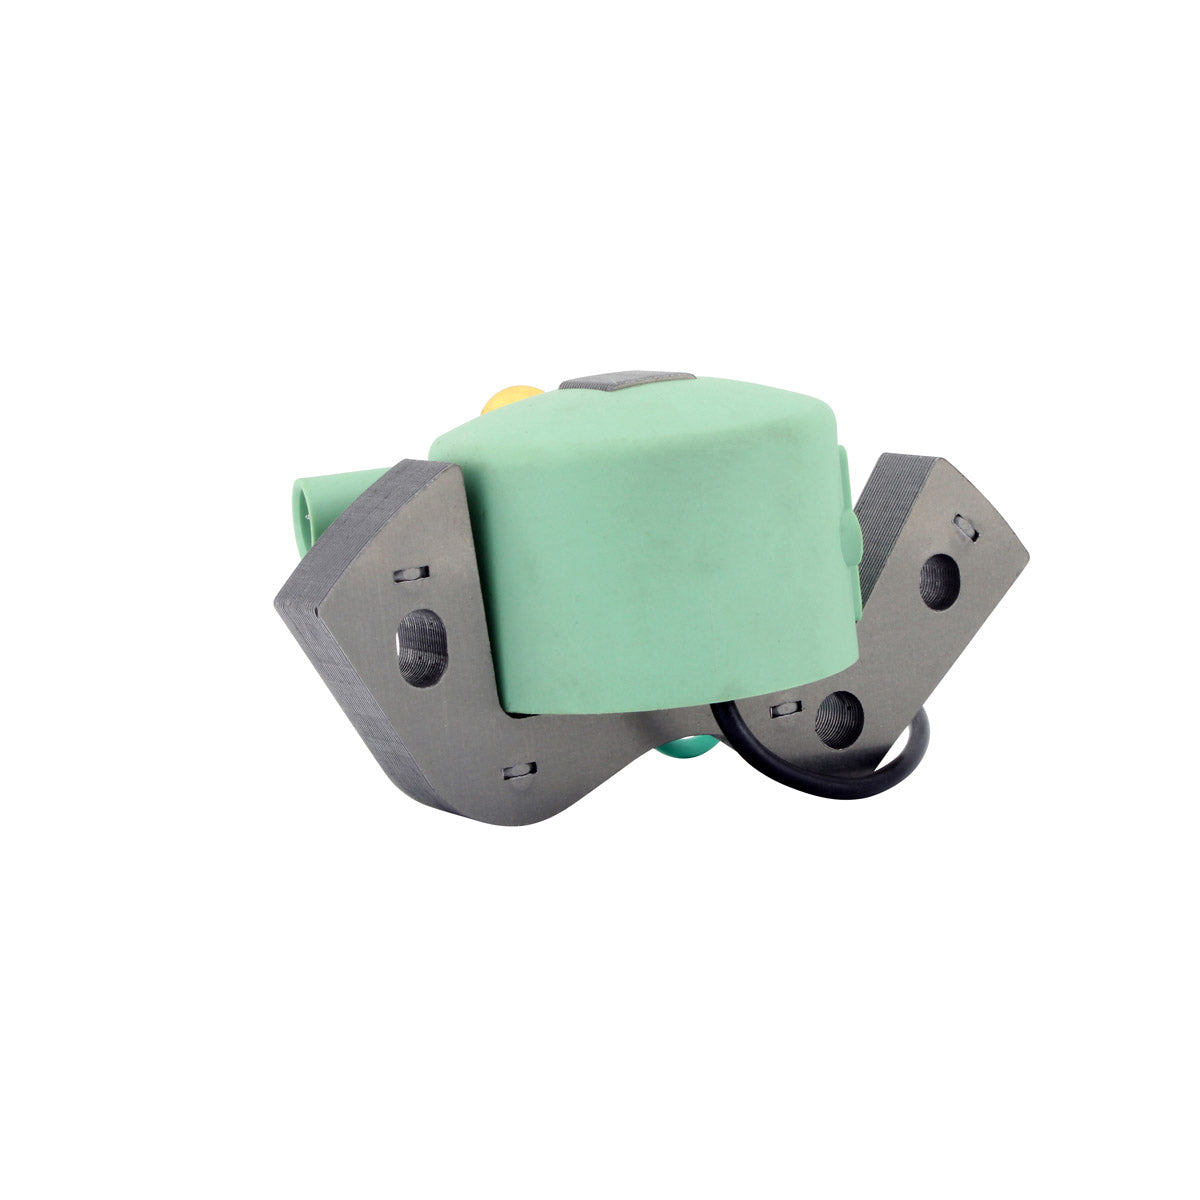
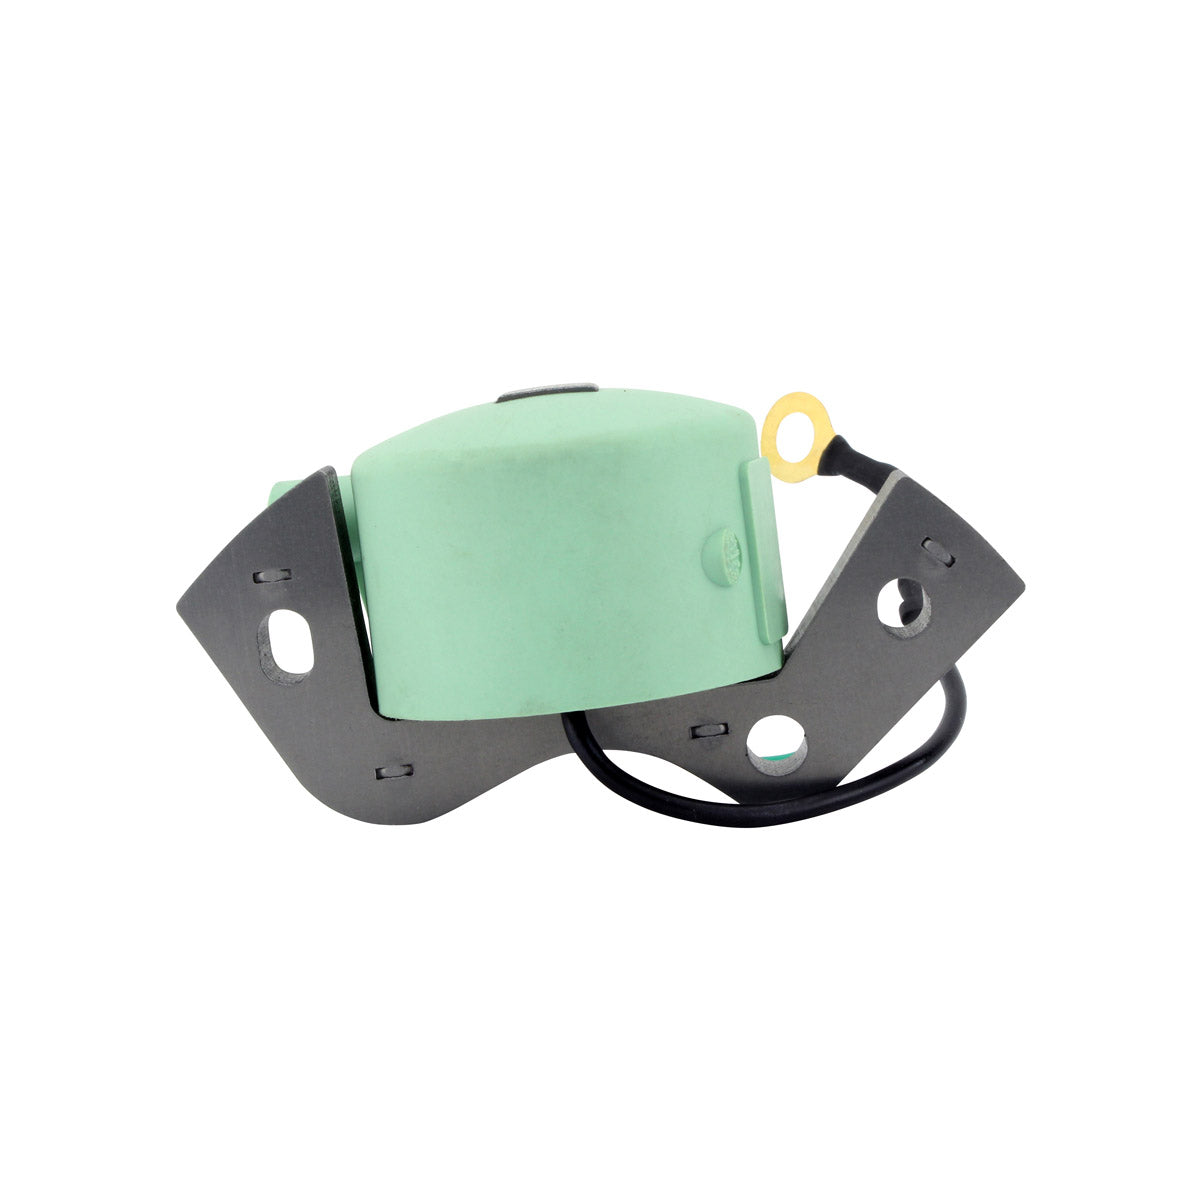
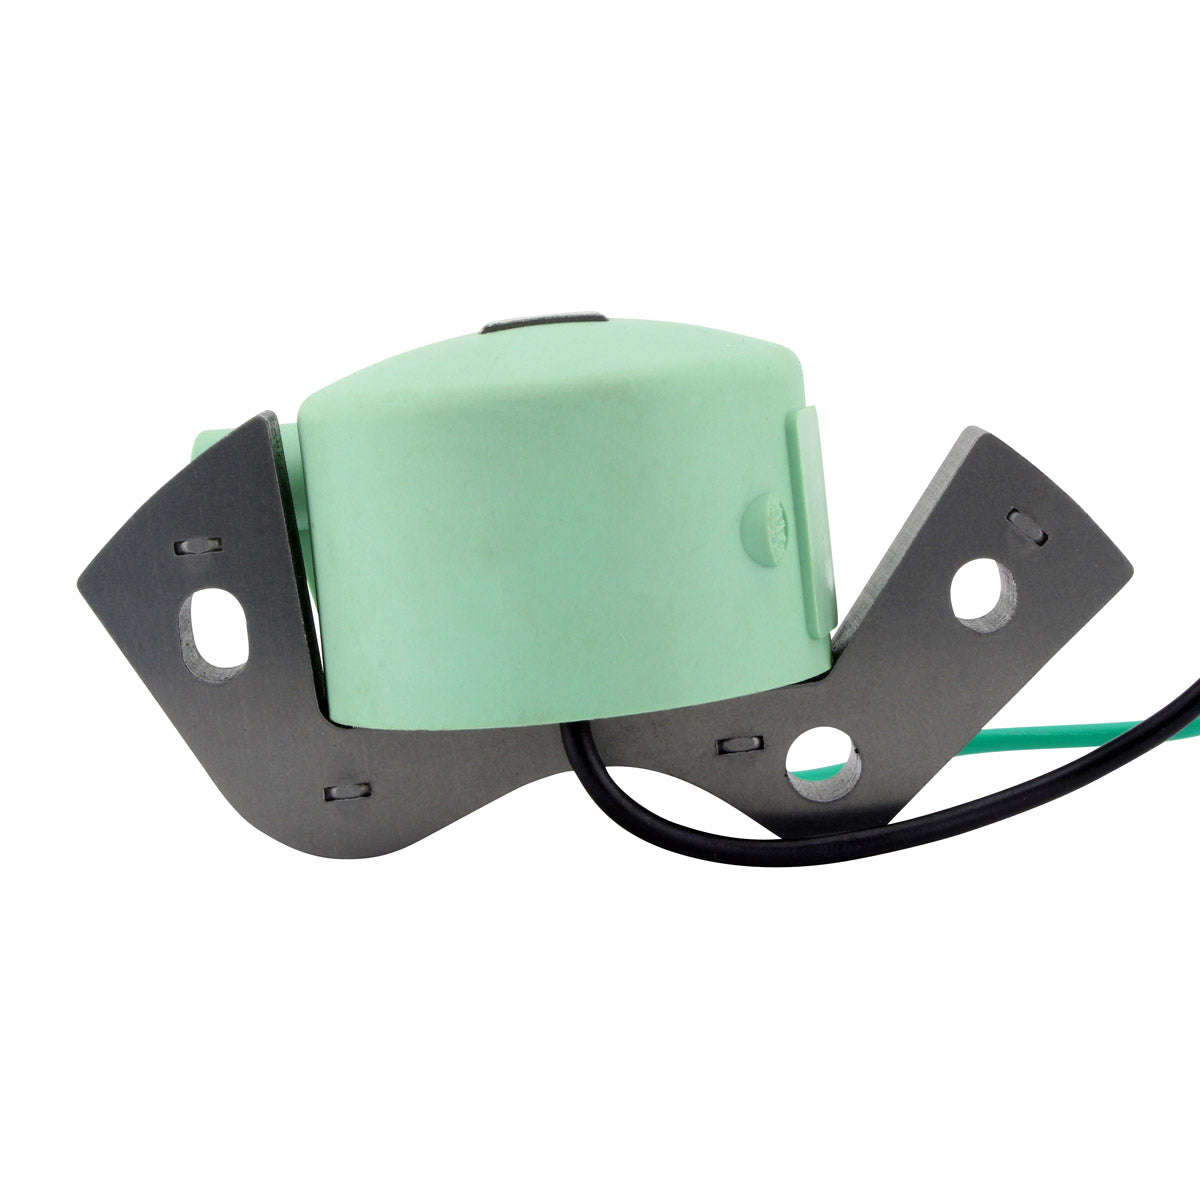
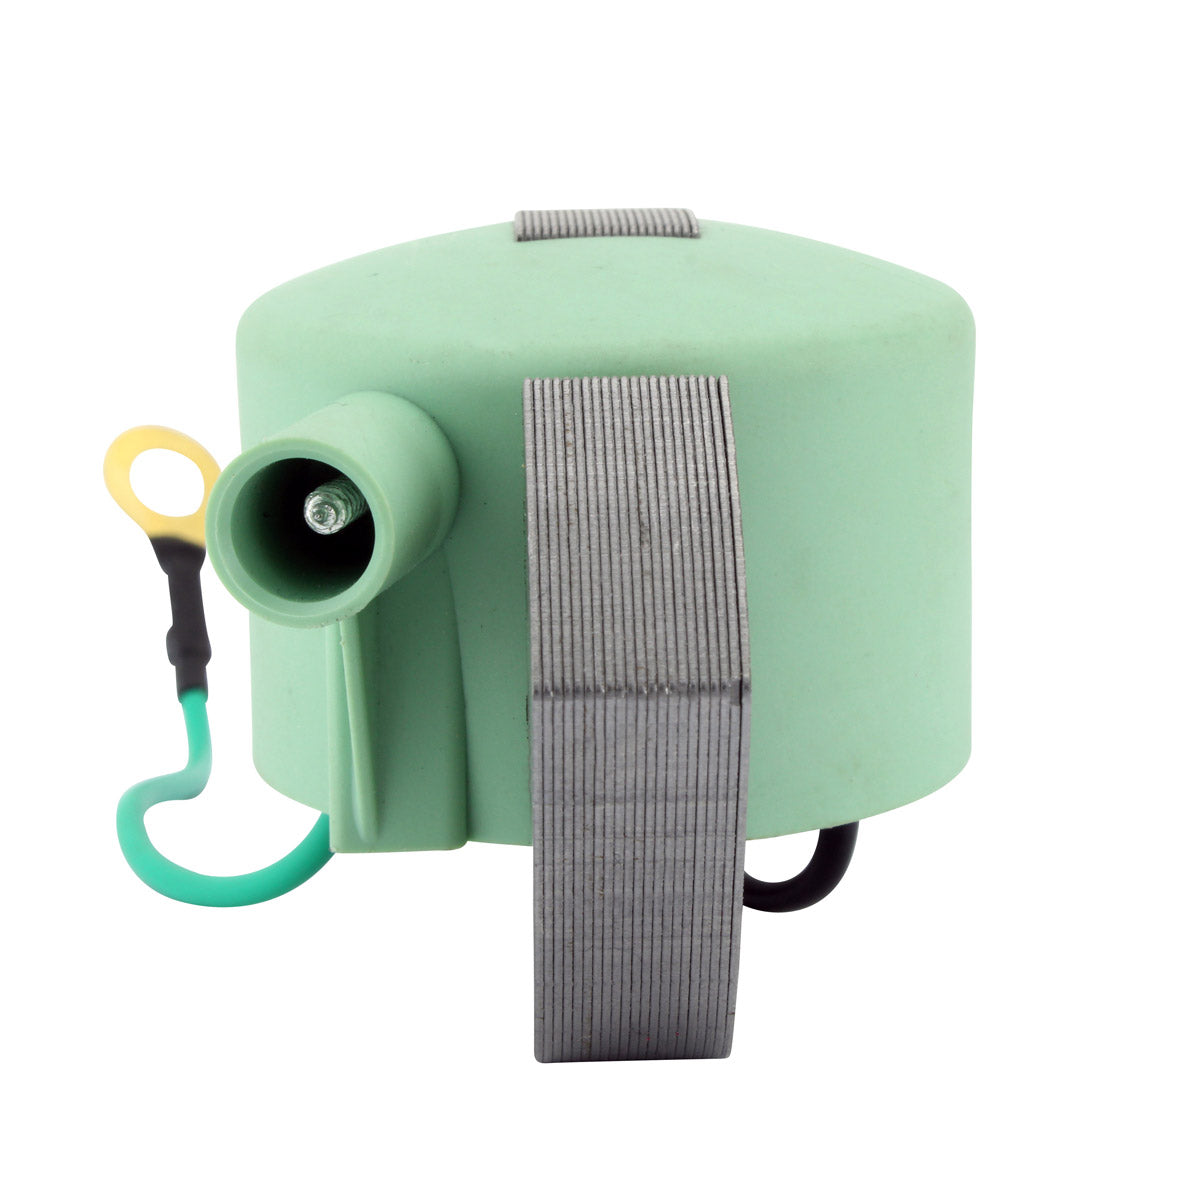
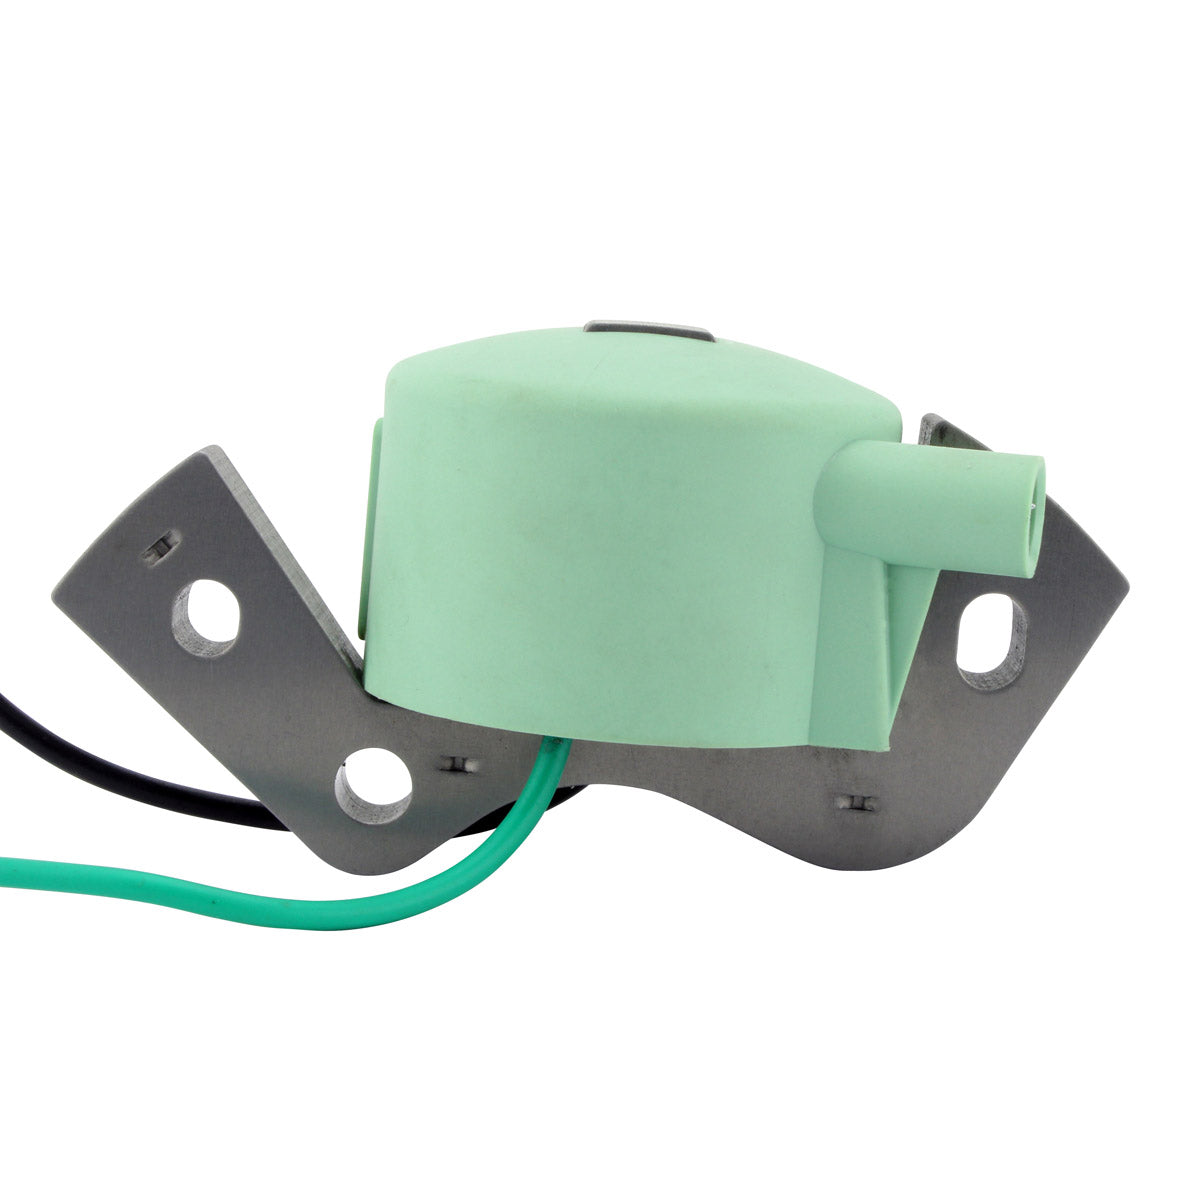
Brand new aftermarket Ignition Coil
- Direct replacement to your original unit
- Plug-and-play, direct fit, easy installation
- All products shipped are tested
*All item pictures are accurate; if in doubt, do not hesitate to compare our item to your original part.
Specifications
Specifications
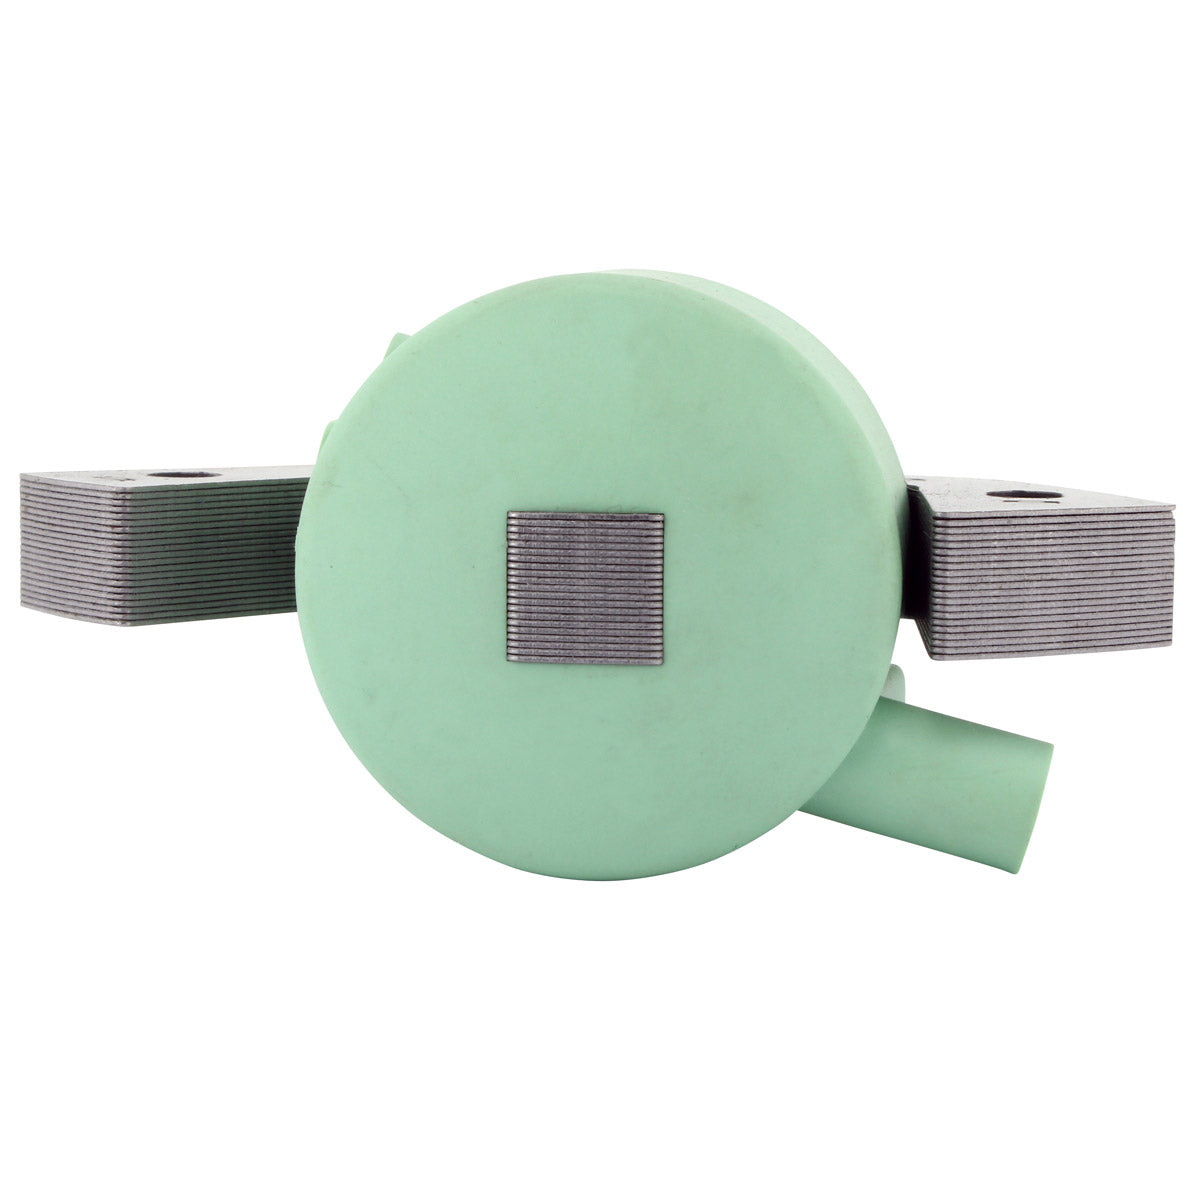
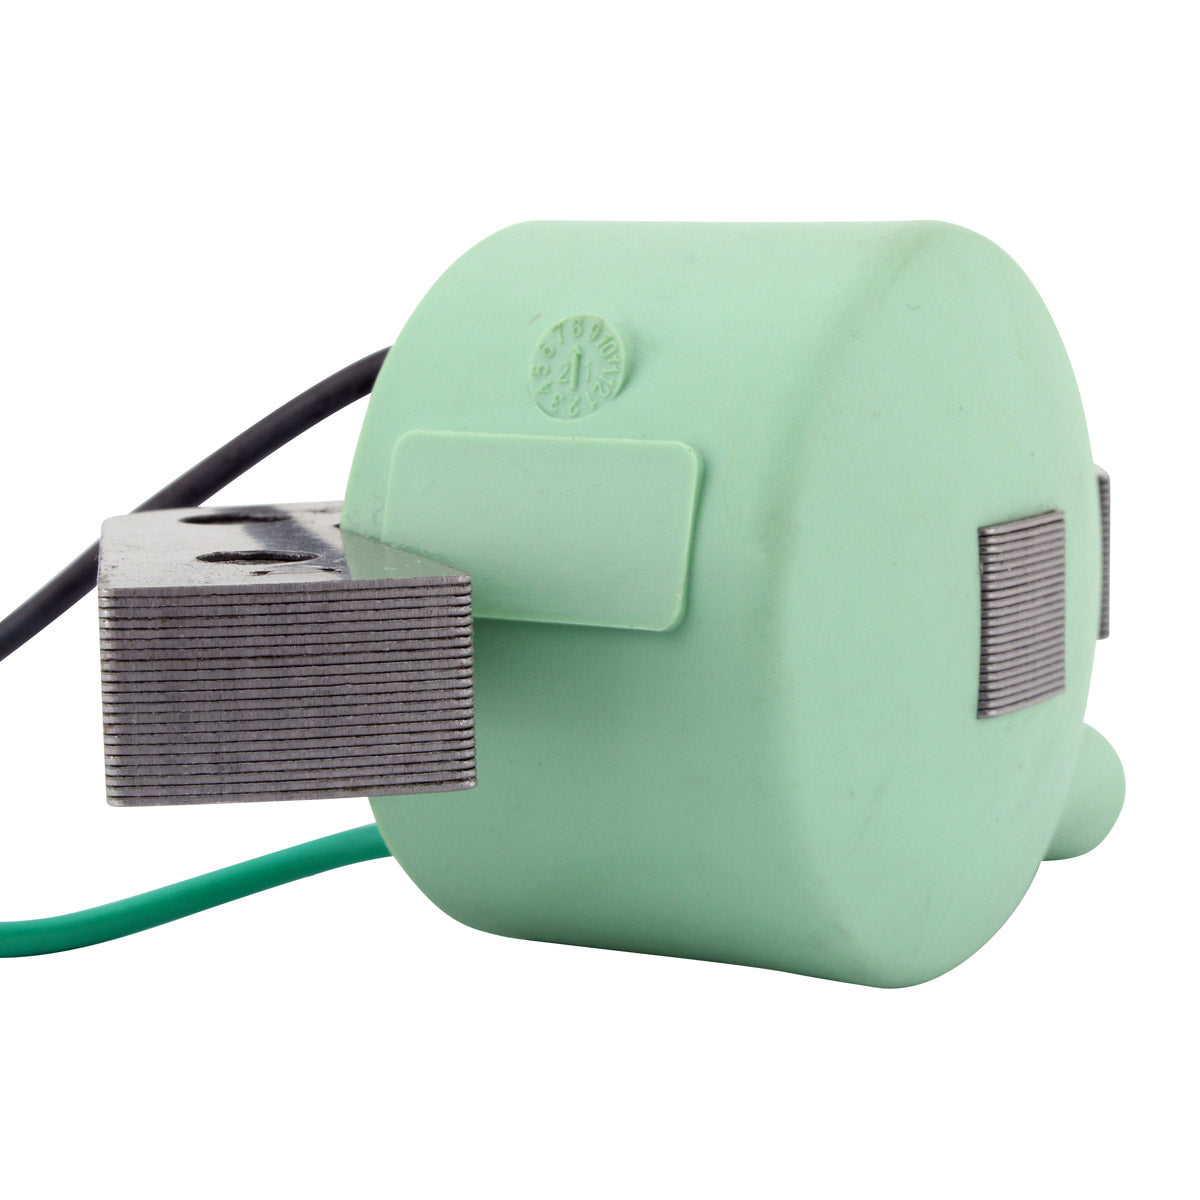
Dimensions:
Width: 45 mm
Length: 90 mm
Height: 38 mm
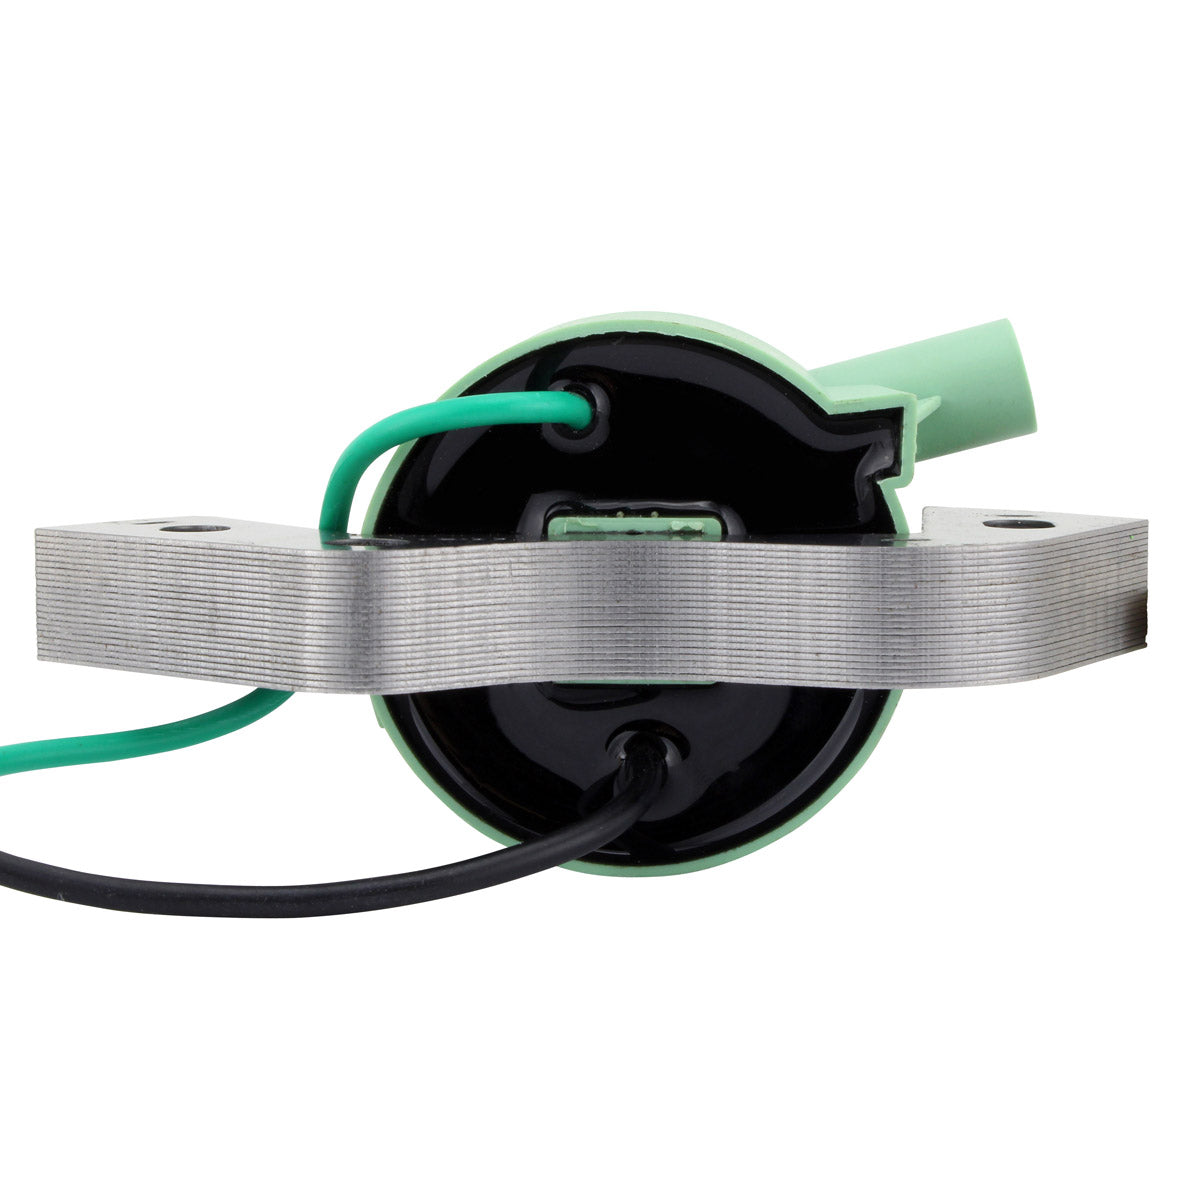
Wires length: Green: 80 mm Black: 60 mm
Fixation holes center to center: 68 mm
Resistance: Black to Green 0.8 ohms
Interchange Part Nº
Interchange Part Nº
- 0582370
- 0582931
- 802371A1
- 802371
- 0582995
- 0584477
Installation
Installation
Remove the yellow wire from the ignition coil, if it is not applicable to your model.
After installing the coil, the armature plate should be rotated over its full range of travel to insure that it turns freely when the motor is running. If there is any interference, the coil mounting screws should be checked to see if they are contacting the top of the cylinder and the crankcase. If they are, remove the mounting screws and grind or file the end of each screw to eliminate interference. After shortening the screws, each tip should be ground to a slight point to facilitate reassembly of the coil. To keep the existing threads free of metal particles during grinding or filing, attach a 10-24 nut to the screw prior to grinding. After the modification is completed, remove the nut from the screw and reassemble the coil.
Warning:
Risk of electric shock. Disconnect the battery before servicing.
Ensure proper installation by a qualified technician to avoid malfunction.
Vehicle Fitments
Vehicle Fitments
Vehicle Fitments
Recently Viewed
You may also like
Have a question?
Our customers are our most important asset, we are here to help you in real time! Call us now, or connect with a specialist via email.