


- Store vehicles in your garage
- Get product recommendations
- Easily find products and accessories


Stator Lighting Coil for Yamaha YFS 200 Blaster 1988-2006 OEM Repl.# 2XJ-81313-M0-00 | YFS200
RMSTATOR
SKU: RM00038
In Stock
RMSTATOR
Stator Lighting Coil for Yamaha YFS 200 Blaster 1988-2006 OEM Repl.# 2XJ-81313-M0-00 | YFS200
Close
FITMENT WARNING:
Close
Close
Shop By Vehicle
$15.19
Stator Lighting Coil for Yamaha YFS 200 Blaster 1988-2006 OEM Repl.# 2XJ-81313-M0-00 | YFS200

Details
Details
Brand New Lighting Coil
- We offer a brand new lightning coil for you to repair your stator.
- Often unavailable from the OEM manufacturer
- Highest grade lamination materials
- Highest grade copper windings, resistant to 200 degrees celcius
- Works with all other OEM parts
- All product shipped are tested
*All item pictures are accurate; if in doubt do not hesitate to compare our item to your original part.
Specifications
Specifications
Dimensions :
Height : 25 mm
Length : 70 mm
Width : 22 mm
Fixation holes center to center : 55 mm
Height : 25 mm
Length : 70 mm
Width : 22 mm
Fixation holes center to center : 55 mm
Interchange Part Nº
Interchange Part Nº
- 2XJ-81313-M0-00
Installation
Installation
Read these instructions completely before beginning:
Step 1 : Take the ignition cover off. Are the remplacement parts similar? Compare the replacement part to the original. The remplacement part should match, including the mounting hole locations, If not: Double check the application listing with your bike.Step 2 :Take note of the wire colors of the original stator wires and disconnect them from the wiring loom.
Step 3: Remove the flywheel using a proper puller tool.
Step 4: Remove the baseplate with the original coil.
Step 5: Remove the screws that secure the coil and take the coil off.
Step 6: Cut the original wire close to the original coil. Take a good look at how the wire is connected to the coil. Connections: Connect the old wire up to the new coil. Use a soldering iron and resin core solder. (the type used in electrical applications
Step 7: Mount the coil onto the baseplate, fit the screws using locking compound on the threads and TIGHTEN THE SCREWS SECURELY! Step 8: Refit the stator baseplate. Ensure the wires CANNOT TOUCH THE FLYWHEEL! (especially on the inside of the flywheel)
Step 9: Refit the flywheel. Tighten the bolt to specified torque.
Step 10: Fit the ignition cover.
TROUBLESHOOTING:
Engine will not start: Sometimes the source coil wires are reversed. Swap the connections, re-solder the wires and the engine should start. If the engine still does not start, and before calling technical support, performs a few basic tests:- Re-check the connections. Make sure you carefully solder the connections. Twisting wires together or taping wires will cause engine inoperability.
- Check the engine for spark.
- Is fresh fuel in the gas tank?
Warning:
Risk of electric shock. Disconnect the battery before servicing.
Ensure proper installation by a qualified technician to avoid malfunction.
Vehicle Fitments
Vehicle Fitments
Vehicle Fitments
Let customers speak for us
Andrew
Excellent help with buying the correct part, Thanks!!
RMSTATOR

Andrew
I ordered a stator for my 2000 Suzuki quad,I had purchased a CDI box from RM Stator also, it started the bike immediately, but the same problem appeared after running for about 30 minutes then would die, but would restart after about 10 minutes. Finally I installed the stator and beautiful, my problem is finally fixed after about 10 years of thinking That was just running hot and the gas was vapor locking. I haven't used it on a long run yet, but now it starts up immediately even after running it for an hour and getting it hot. Thanks RM Stator for finally fixing my bike!!!? Andrew!!
Stator for Arctic Cat 250 / 300 1998-2005 | Suzuki LTF 250 300 F | LT-4WD 250 Quadrunner 1987-2002 3430-021 32101-19B10
Denman Jones
easy ordering & shipped quickly & was exactly what i needed
RMSTATOR

Denman Jones
did a lot of testing & finally felt it was the stator that was. audi g the problem, replaced it with the new one & it solved the problem!!
Generator Stator for Honda SXS700 Pioneer 700 2014-2024 | OEM# 31120-HL3-A01

Terry
They sent the right gasket the first time and what more can you say about a gasket besides it works
Stator Crankcase Cover Gasket for Yamaha YFZ 450 2004-2014
Terry
Thought I had an issue I called. They called me back technical support guided me through and they did an amazing job. Thank you.
RMSTATOR

Terry
Works great and perfect fit
High Output Stator for Yamaha YFZ 450 2004-2009 2012-2013 | # 5TG-81410-00-00 5TG-81410-01-00 5TG-81410-02-00
Kazimir Nowlin
Amazing quality, and fast shipping. Thx
RMSTATOR

Kazimir Nowlin
Fast shipping ...perfect alternative to OEM at under half the cost.
Mosfet Regulator for Indian Chief Classic / Vintage | Chieftain Dark Horse | Roadmaster | Springfield 2014-2026 4019661

John Martiskovich
Really happy that the part I purchased fixed the problem with my boat motor. The entire process of purchase, payment, and delivery updates was flawless and professional.
Highly recommend this vendor.
Regulator 4-Wire for Johnson Evinrude Outboard 4-60 HP Models 1977-2001

Anonymous
perfect fit for a 2018 Polaris 450 ho.it even fixed the dash lite flickering.
MOSFET Voltage Regulator Rectifier for Polaris Sportsman 450 HO / 550 / 570 X2 / 850 XP / 1000 2010-2020 | OEM# 4012678
Jake
So far so good. The bikes happy again. Should be a good upgrade over OEM voltage regulator
MOSFET Voltage Regulator Rectifier for Polaris Sportsman 450 HO / 550 / 570 X2 / 850 XP / 1000 2010-2020 | OEM# 4012678

Christopher Brammer
Works like or better than oem so thankful my bike is running!
Voltage Regulator for Polaris Magnum / Scrambler / Sportsman / Ranger / Worker 500 1997-2003 | 2203636 4060173 4010657

Christopher Brammer
Excellent product tgat works perfectly as expected!
Generator Stator for Polaris ATP / Big Boss / Magnum / Ranger / Scrambler / Sportsman / Worker 500 1999-2004 | 3087168
Christopher Brammer
Amazing company that puts excellent quality into there products to help get our toys running again! Im so thankful for rmstator!
RMSTATOR
Universal Products
RMSTATOR SKU RM10001
Universal Fit
Fits your ride
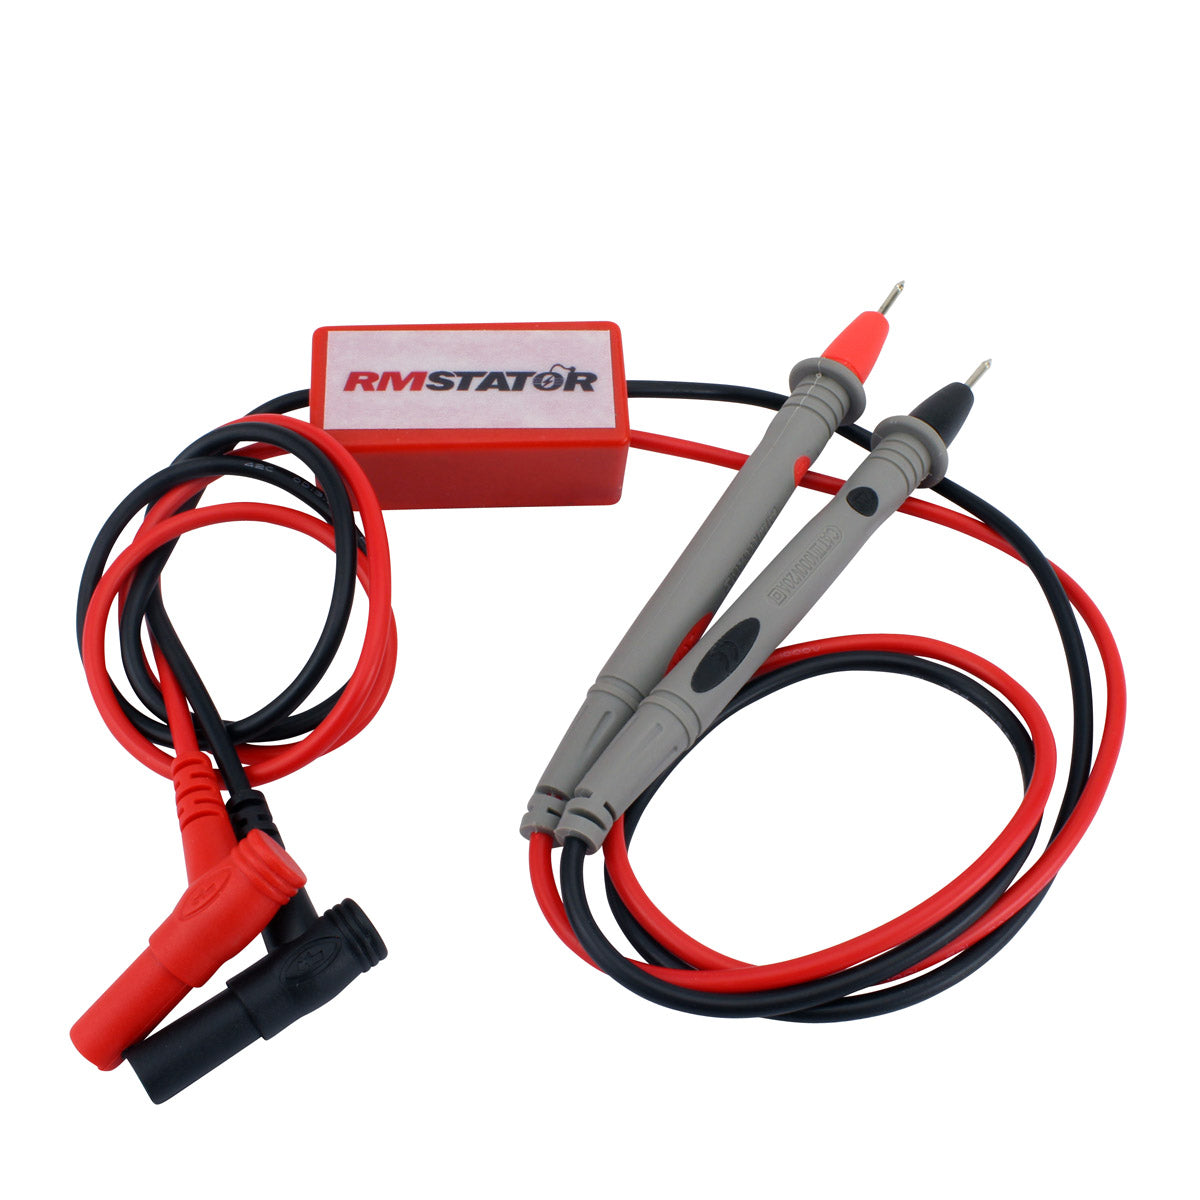
Voltage Peak Reading Adapter DVA Adapter for Multimeter Probes
In Stock

RMSTATOR SKU RMS200-104819
Universal Fit
Fits your ride
11 pcs connector Terminal Removal / Pin Puller Extractor Tool
In Stock

RMSTATOR SKU RM10002
Universal Fit
Fits your ride
Professional Grade Ratchet Wire Crimping Tool Pliers 9 inches
In Stock

RMSTATOR SKU RM22980
Universal Fit
Fits your ride
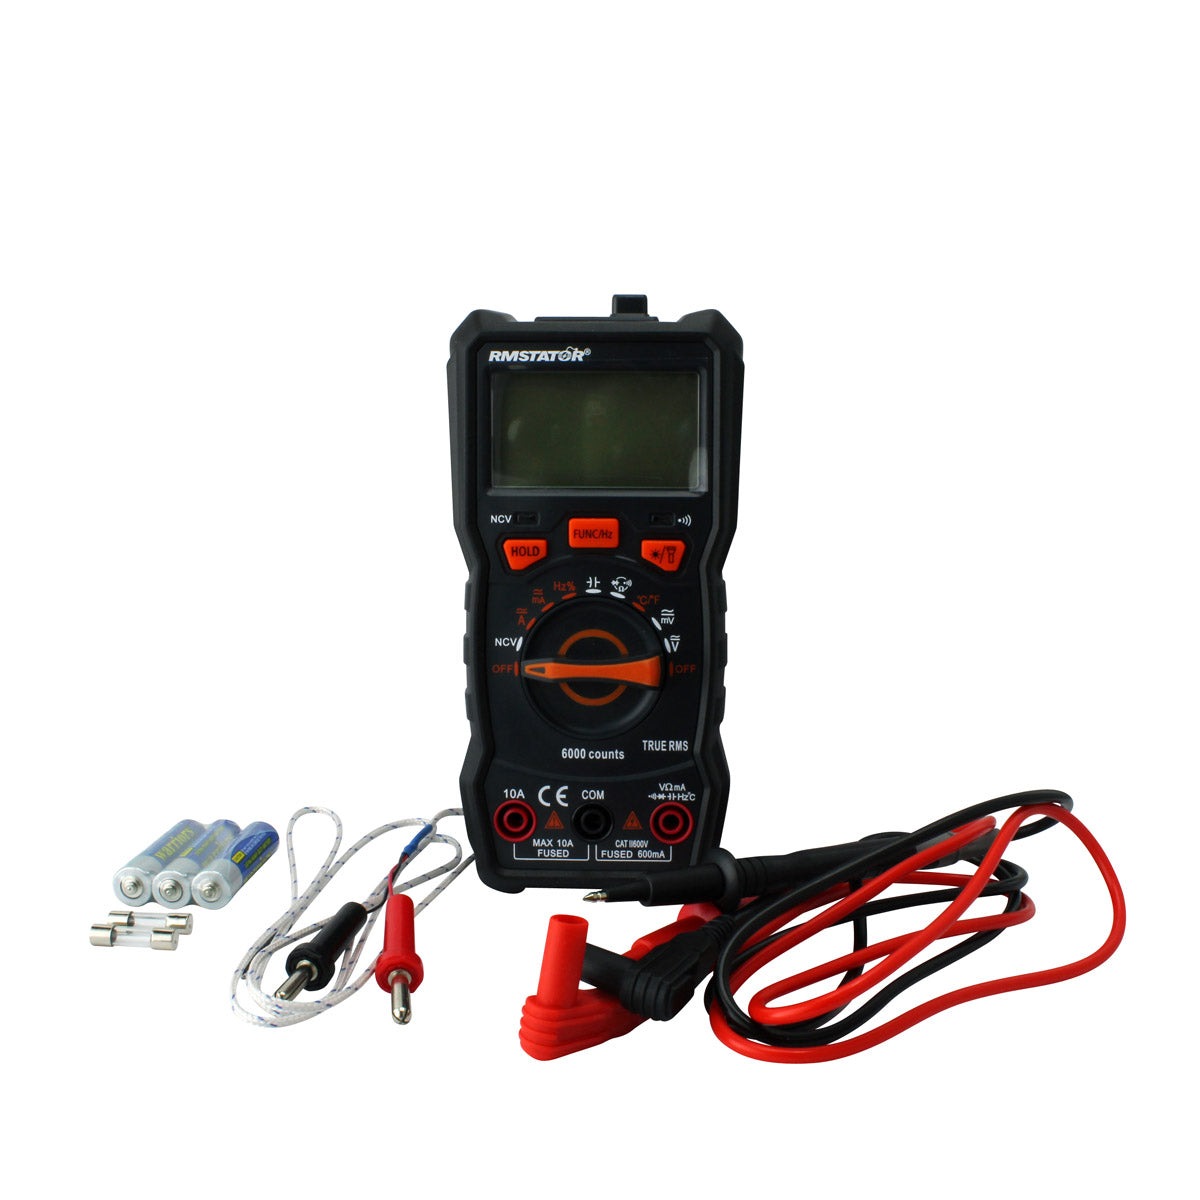
Kit Digital Multimeter + Voltage Peak Reading DVA Adapter
In Stock
RMSTATOR SKU RMS200-106165
Universal Fit
Fits your ride
Digital Multimeter DC / AC Voltage Resistance Diode Transistor Continuity Test
In Stock

RMSTATOR SKU RMS200-102963
Universal Fit
Fits your ride
Brand New Soldering Station Universal Tool 110 V / 70 W
In Stock

RMSTATOR SKU RMS200-103923
Universal Fit
Fits your ride
Universal 12 Volts Digital Battery Tester / Charging System Analyzer
In Stock
RMSTATOR SKU RM10008
Universal Fit
Fits your ride
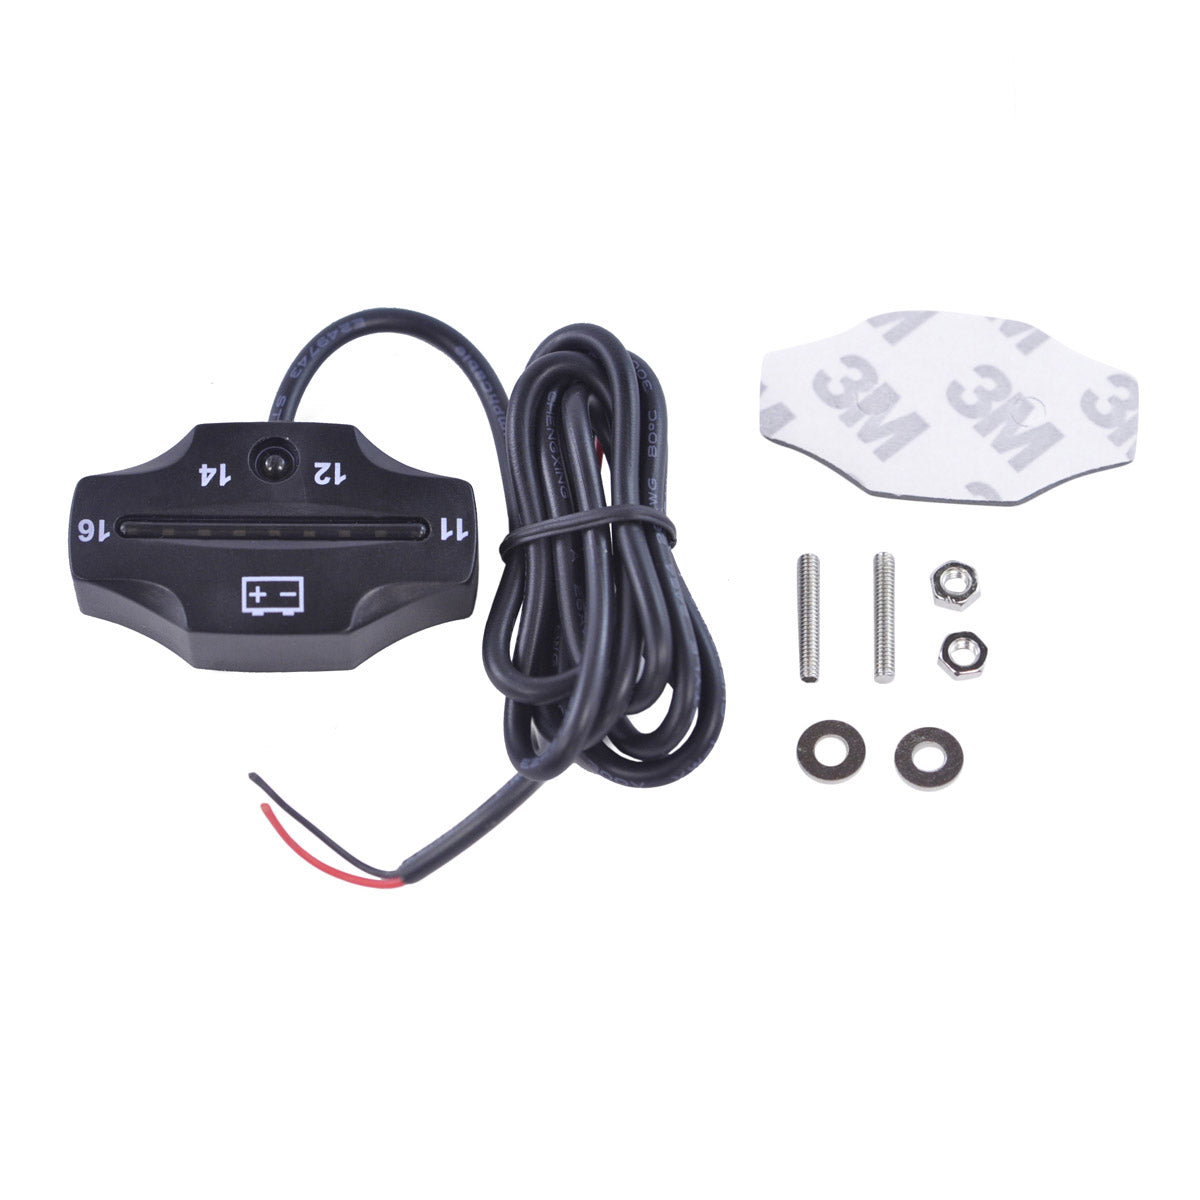
Universal Battery Volt Meter with Small Digital LED Display Charging Circuit Monitor and Waterproof Case 11V-16V
In Stock
Recently Viewed
You may also like
Have a question?
Our customers are our most important asset, we are here to help you in real time! Call us now, or connect with a specialist via email.