- Store vehicles in your garage
- Get product recommendations
- Easily find products and accessories
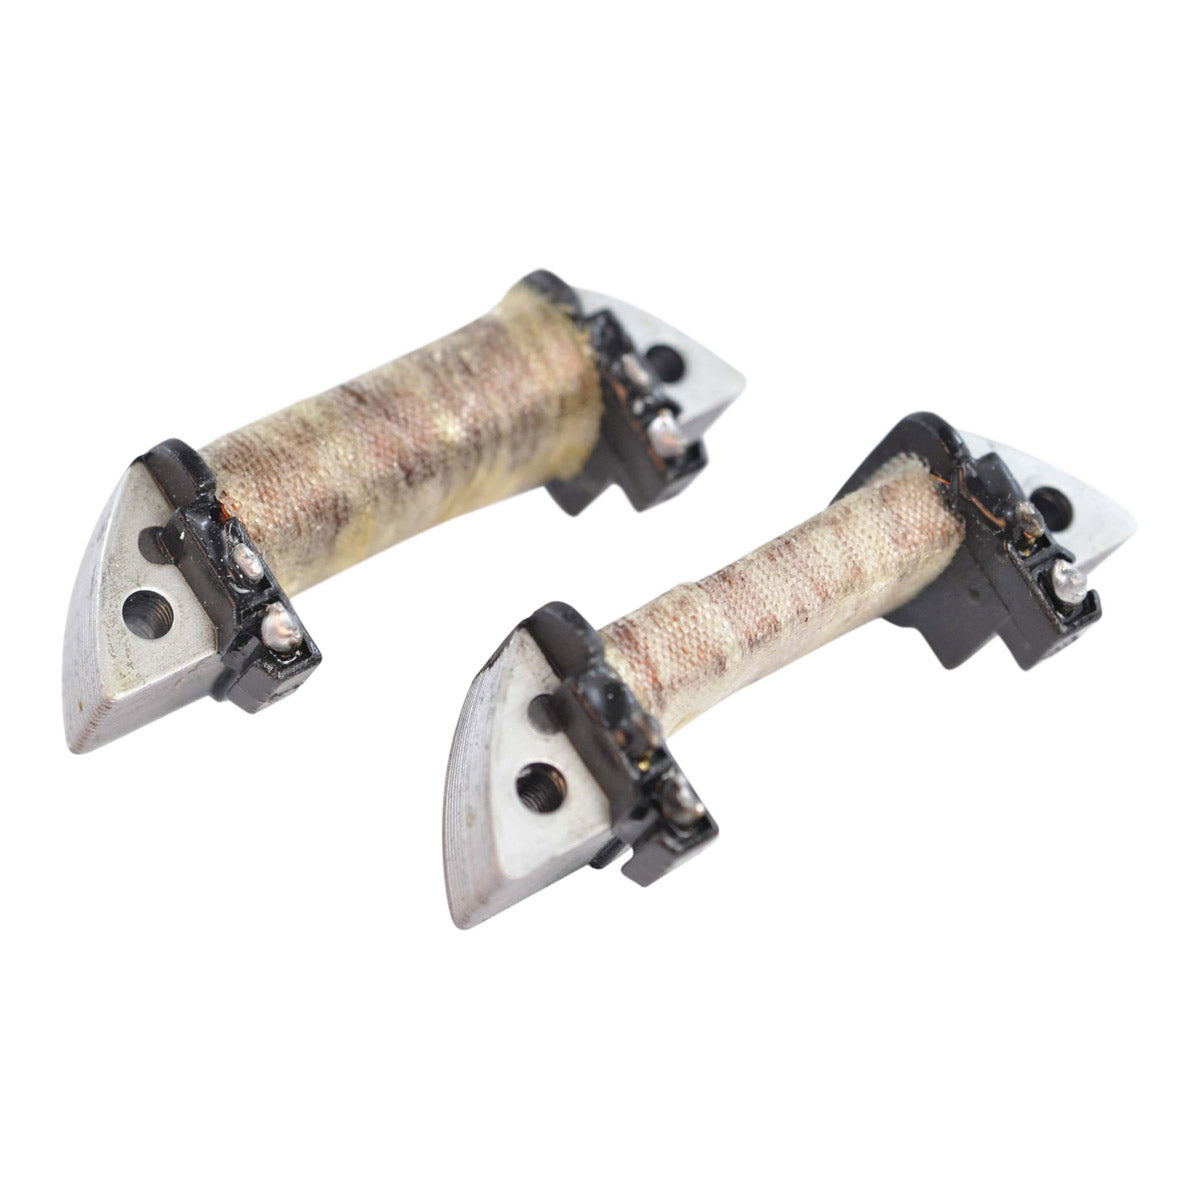
Stator Ignition Source Coil for Kawasaki KX 125 / 250 1992-1997 | Yamaha YZ 125 1992-1995 | # 4DB-85510-00-00 21003-1237
Stator Ignition Source Coil for Kawasaki KX 125 / 250 1992-1997 | Yamaha YZ 125 1992-1995 | # 4DB-85510-00-00 21003-1237

Details
Details
Brand new ignition source coil
- We offer a brand new ignition source coil for you to repair your stator.
- Often unavailable from the OEM manufacture
- Highest grade lamination materials
- Highest grade copper windings, resistant to 200 degrees celsius
- Works with all other OEM parts
- All product shipped are tested
*All item pictures are accurate; if in doubt do not hesitate to compare our item to your original part.
Specifications
Specifications
Small Coil : Between each leg = 20 ohms+/-20%
Interchange Part Nº
Interchange Part Nº
- 21003-1311
- 4DB-85510-00-00
- 4JY-85510-00-00
- 4EX-85510-00-00
- 21003-1236
- 21003-1281
- 21003-1293
- 21003-1259
- 21003-1264
- 21003-1282
- 21003-1266
- 21003-1260
- 21003-1294
- 21003-1237
Installation
Installation
- Take the ignition cover off.
- Take note of the wire colors of the original stator wires and disconnect them from the wiring loom.
- Remove the flywheel using a proper puller tool.
- Remove the baseplate with the original stator.
- Remove the screws that secure the ignition coils and take the coils off.
- Cut the original wires close to the original coils. Take a good look at how the wires are connected to the coil.
- Connections:
Large coil connects to the Black/Red and the Red wire.
Small coil connects over to the large coils Red wire and the other side to the White wire.
Connect the wires on the same side of the coils as the original setup. - Connect the old wires up to the new coils. Put the wires in exactly the same place as on the original. Make sure you have good connections here
- Mount the coils onto the baseplate, fit the screws using locking compound on the threads and TIGHTEN THE SCREWS SECURELY!
- Refit the stator baseplate. Ensure the wires CANNOT TOUCH THE FLYWHEEL! (especially on the inside of.
Instructions for Yamaha YZ125 1992
- Take the ignition cover off.
- Take note of the wire colors of the original stator wires and disconnect them from the wiring loom.
- Remove the flywheel using a proper puller tool.
- Remove the baseplate with the original stator.
- Remove the screws that secure the ignition coils and take the coils off.
- Cut the original wires close to the original coils. Take a good look at how the wires are connected to the coil.
- CONNECTIONS:
Large coil connects to the Brown wire, connect the other side up to the Red wire.
Small coil connects to the Black wire (=ground), connect the other side up to the White wire. - Connect the old wires up to the new coils. Put the wires in exactly the same place as on the original.
- Make sure you have good connections here.
- Mount the coils onto the baseplate, fit the screws using locking compound on the threads and TIGHTEN THE SCREWS SECURELY!
- Refit the stator baseplate. Ensure the wires CANNOTTOUCH THE FLYWHEEL! (especially on the inside of the flywheel)
- Refit the flywheel. Tighten the bolt to specified torque.
- Connect the wires to the wiring loom on the bike. Refit the ignition cover.
- Connect the wires to the wiring loom on the bike.
- Fill the ignition cover
Warning:
Risk of electric shock. Disconnect the battery before servicing.
Ensure proper installation by a qualified technician to avoid malfunction.
Vehicle Fitments
Vehicle Fitments
Our customers are our most important asset, we are here to help you in real time! Call us now, or connect with a specialist via email.


